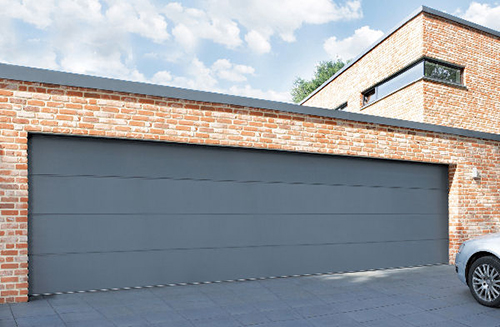
Garage Door Repair Oklahoma City OK Whether you’re celebrating a birthday, announcing a sale, or promoting your brand, hanging a vinyl banner on your garage door can be a straightforward process with the right tools and techniques.
Here’s a detailed guide on how to hang a vinyl banner on a garage door:
1. Measure the Garage Door: Before you begin, measure the width and height of your garage door to determine the size of the banner you’ll need. Use a tape measure to measure the width of the door opening and the height from the top of the door to the ground.
2. Choose the Right Size Banner: Select a vinyl banner that is slightly smaller than the dimensions of your garage door to ensure a proper fit. Consider the content and design of the banner, as well as any hardware or accessories you’ll need to hang it securely.
3. Gather Materials and Tools: Once you’ve chosen the banner size, gather the necessary materials and tools for hanging it on your garage door. You’ll need the vinyl banner, grommets or eyelets, zip ties or rope, a ladder or step stool, and a drill or hammer.
4. Prepare the Garage Door: Clean the surface of the garage door where you plan to hang the banner to remove any dirt, dust, or debris. Use a mild detergent and water solution to clean the surface, and allow it to dry completely before proceeding.
5. Position the Banner: Position the vinyl banner on the garage door, aligning it horizontally and vertically to ensure it’s centered and level. Use a tape measure and level to guide you, and adjust the position of the banner as needed.
6. Attach Grommets or Eyelets: Once the banner is in position, mark the locations where you’ll attach the grommets or eyelets along the top edge of the banner. Space the grommets evenly, approximately 12-24 inches apart, depending on the size of the banner.
7. Install Grommets or Eyelets: Use a grommet kit or eyelet punch tool to install the grommets or eyelets in the marked locations along the top edge of the banner. Follow the manufacturer’s instructions for proper installation, ensuring that the grommets are securely attached to the banner.
8. Secure the Banner to the Garage Door: With the grommets or eyelets in place, use zip ties or rope to secure the banner to the garage door. Thread the zip ties or rope through the grommets and around the horizontal rails or vertical panels of the garage door, pulling them tight to hold the banner securely in place.
9. Trim Excess Zip Ties or Rope: Once the banner is securely attached to the garage door, trim any excess zip ties or rope with scissors or wire cutters to create a neat and tidy appearance. Be careful not to cut the banner or leave any sharp edges that could cause injury.
10. Check for Stability: After hanging the banner, check for stability and ensure that it is securely attached to the garage door. Gently tug on the corners and edges of the banner to make sure it’s not loose or sagging, and adjust the zip ties or rope as needed to tighten the banner.
11. Test the Door Operation: Before leaving the banner in place, test the operation of the garage door to ensure that it opens and closes smoothly without interference from the banner. If the banner obstructs the movement of the door, adjust its position or remove it temporarily while operating the door.
12. Monitor and Maintain: Regularly inspect the vinyl banner and its attachments to ensure that it remains secure and in good condition. Check for signs of wear, damage, or fading, and make any necessary repairs or replacements to keep the banner looking its best.
Garage Door Repair Oklahoma City OK By following these steps and taking the necessary precautions, you can hang a vinyl banner securely and safely on your garage door, creating a custom look that’s sure to grab attention.
CCM Overhead Doors
1000 NW 80th St, Oklahoma City, OK 73114, United States
1-405-563-8982