
Sure thing! Installing a Garage Door Repair Grapevine TX involves several steps to ensure it functions properly and safely. Here’s a detailed guide with approximately 1000 words:
Title: A Comprehensive Guide to Installing Your Garage Door
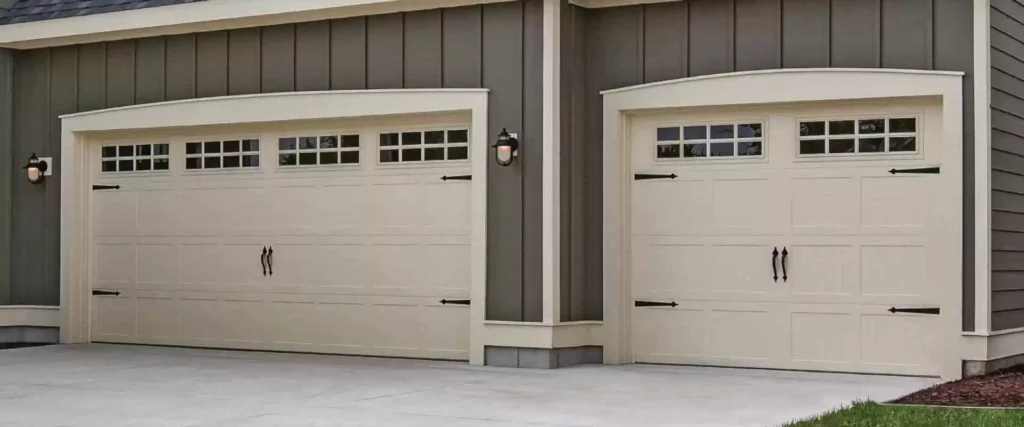
A well-installed garage door not only enhances the aesthetics of your home but also ensures the safety and security of your belongings. Follow these step-by-step instructions to successfully install your garage door.
Step 1: Gather Necessary Tools and Materials
Before you begin the installation process, make sure you have all the required tools and materials. This typically includes a power drill, screwdriver, wrenches, level, tape measure, and the garage door kit, which should include the door panels, tracks, rollers, springs, and other essential components.
Step 2: Measure and Prepare the Opening
Measure the width and height of your garage door opening to determine the size of the door you need. Ensure that the opening is square and level. If not, adjustments may be needed, such as shimming the jambs.
Step 3: Install the Door Tracks
Attach the vertical and horizontal tracks to the opening according to the manufacturer’s instructions. Use a level to ensure that the tracks are plumb and aligned properly. Secure them in place with the provided hardware.
Step 4: Install the Rollers
Attach the rollers to the sections of the garage door. These will help the door move smoothly along the tracks. Make sure the rollers are securely in place and rotate freely.
Step 5: Install the Torsion Springs
Torsion springs are crucial for counterbalancing the weight of the garage door. Follow the manufacturer’s guidelines to install the torsion springs securely. Exercise caution, as these springs are under tension and can be dangerous if mishandled.
Step 6: Attach the Panels
Carefully lift each garage door panel into place, connecting them with the provided hinges. Ensure that the panels are level and that there is an even gap between them. Secure the hinges and panels according to the manufacturer’s instructions.
Step 7: Install the Bottom Seal
Attach the bottom seal to the bottom of the garage door to prevent drafts, debris, and pests from entering. Trim the seal to fit the width of the door and secure it in place with the provided adhesive or screws.
Step 8: Install the Weatherstripping
Apply weatherstripping along the sides and top of the garage door to create a tight seal and improve energy efficiency. Trim the weatherstripping as needed and use adhesive to secure it in place.
Step 9: Install the Operator System
If your garage door is motorized, follow the manufacturer’s instructions to install the operator system. This typically involves mounting the motor, connecting it to the door, and programming any necessary remotes or keypads.
Step 10: Test the Door
Once everything is installed, test the garage door’s operation. Check for smooth movement along the tracks, ensure that it opens and closes completely, and listen for any unusual noises. Make any necessary adjustments to ensure proper functionality.
Step 11: Final Checks and Adjustments
Inspect all components to ensure they are securely in place. Tighten any loose screws or bolts, and lubricate moving parts such as rollers and hinges. Perform a final test to confirm that the garage door operates smoothly and safely.
Conclusion
By following these detailed steps, you can successfully install a Garage Door Repair Grapevine TX that enhances your home’s functionality and curb appeal. Remember to prioritize safety throughout the process and consult the manufacturer’s instructions for specific guidance on your garage door model.
Grapevine’s Maid Pros
1527 W State Hwy 114, Grapevine, TX 76051, United States
1-817-442-2239