
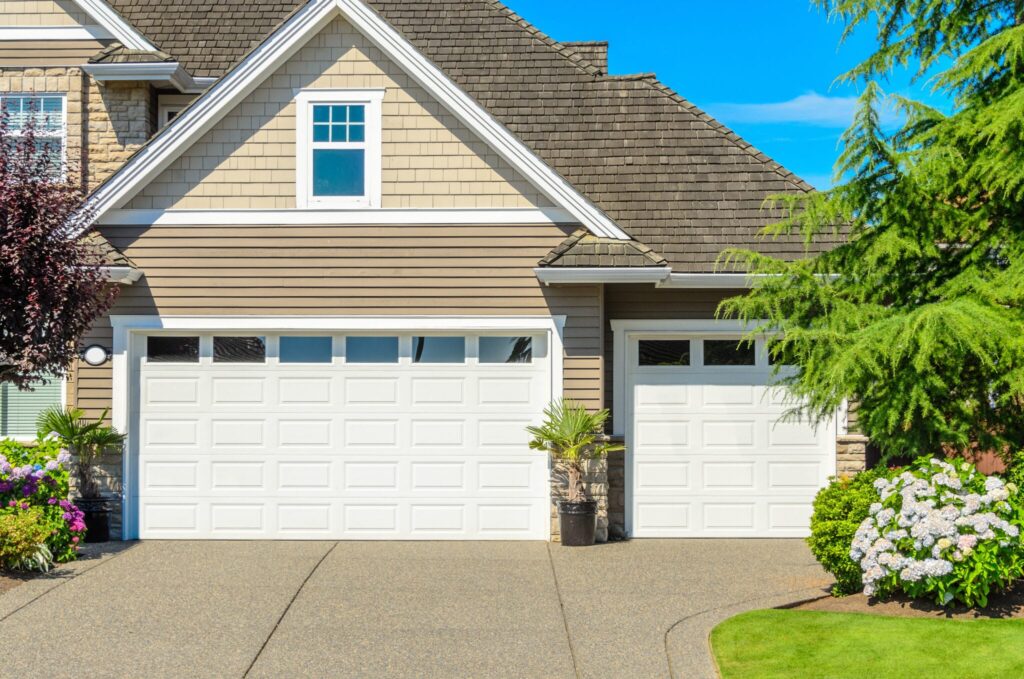
Replacing a Garage Door Repair Shelbyville KY is a relatively simple DIY project that can help improve energy efficiency and keep your garage clean and dry.
In this guide, we’ll walk you through the steps to replace a garage door seal in about:
: Gather Your Materials
Before you begin, make sure you have all the necessary materials and tools:
- New garage door seal (weatherstripping)
- Tape measure
- Pliers
- Screwdriver
- Utility knife
- Soap and water (for cleaning)
- Safety goggles
- Gloves
: Safety Precautions
Start by ensuring your safety. Wear safety goggles and gloves to protect your eyes and hands from any debris or sharp edges while working on your garage door.
: Remove the Old Seal
To remove the old seal, follow these steps:
- Open your garage door fully to access the bottom edge.
- Locate the existing seal, which is typically attached to the bottom of the garage door or the floor.
- Use pliers to grab the seal and pull it away from the door or floor. Be careful not to damage the door or floor while doing this.
- Continue pulling until you’ve removed the entire old seal.
: Measure and Cut the New Seal
Once the old seal is removed, measure the width of your garage door to determine the length of the new seal needed. Measure from one end of the door to the other.
- Unroll the new garage door seal and cut it to the measured length using a utility knife. Make sure the cut is straight and clean.
: Clean the Area
Before installing the new seal, it’s important to clean the area where the seal will be attached. Use a mixture of soap and water to clean the bottom edge of the garage door thoroughly. This will ensure a good seal and proper adhesion.
: Attach the New Seal
Now, it’s time to attach the new seal:
- Position the new seal at the bottom edge of the garage door, starting at one end.
- Press the seal firmly against the door, ensuring that it is centered and aligned properly.
- Begin attaching the seal using screws or nails. Place the fasteners at regular intervals along the length of the seal. Make sure they are secure but not too tight, as this could damage the seal.
- Continue attaching the seal along the entire length of the door, working your way from one end to the other.
: Trim Excess Seal
After you’ve attached the seal, you may have some excess material hanging over the edge of the door. Use a utility knife to carefully trim away any extra material, making sure to leave a clean, neat edge.
: Test the Door
To ensure that the new seal is properly installed and doesn’t interfere with the garage door’s operation, test the door by opening and closing it a few times. Make any necessary adjustments to the seal if it seems to be causing any issues.
: Maintain Your Seal
Regularly inspect your garage door seal for signs of wear or damage. Over time, seals can deteriorate due to exposure to weather and temperature changes. If you notice any issues, replace the seal as needed to maintain an effective barrier.
: Clean Up
Dispose of any old seal material and clean up your work area. Store any unused portions of the new seal in a dry, cool place for future replacements.
In conclusion, replacing a Garage Door Repair Shelbyville KY is a straightforward DIY project that can have a significant impact on your garage’s insulation and cleanliness. With the right materials and tools, you can complete this task in a relatively short amount of time, providing you with a more efficient and comfortable garage space.
Shelbyville Gates & Garage Doors
1927 Burks Branch Rd, Shelbyville, KY, 40065
502-513-6328