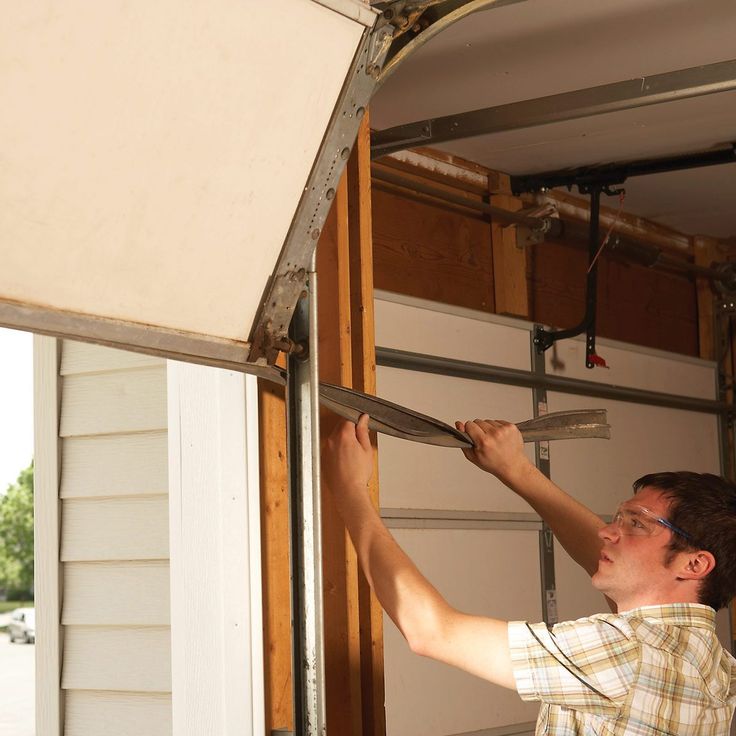
Garage Door Repair Richmond TX The Clicker remote is designed to work with most garage door openers and can be programmed to operate your garage door quickly and easily.

Here’s a step-by-step guide on how to program a Clicker universal garage door remote:
1. Determine Compatibility:
- Before programming your Clicker remote, make sure it is compatible with your garage door opener. Check the compatibility list provided with the remote or visit the Clicker website to verify compatibility with your opener model.
2. Locate the Learn Button on Your Garage Door Opener:
- To program your Clicker remote, you will need to locate the “Learn” or “Smart” button on your garage door opener. The location of this button may vary depending on the manufacturer and model of your opener, but it is typically found near the antenna wire or on the back panel of the opener motor.
3. Clear Existing Codes (If Necessary):
- If you are programming the Clicker remote to a new garage door opener or replacing an existing remote, you may need to clear the existing codes from the opener memory. To do this, locate the “Learn” button on the opener and press and hold it for about 10 seconds until the indicator light blinks or turns off, indicating that the codes have been cleared.
4. Prepare Your Clicker Remote:
- Before programming your Clicker remote, remove the battery cover and insert the battery into the remote. Make sure the battery is properly installed and that the contacts are clean and free of debris.
5. Program Your Clicker Remote:
- To program your Clicker remote, follow these steps:a. Press and release the “Learn” or “Smart” button on your garage door opener. The indicator light on the opener will illuminate, indicating that it is in programming mode.b. Within 30 seconds, press and hold the button on your Clicker remote that you want to program to the opener. Hold the button until the indicator light on the opener blinks, indicating that the remote has been successfully programmed.c. Release the button on the Clicker remote. Press the button again to test the remote and ensure that it operates the garage door opener correctly.
6. Repeat the Programming Process (If Necessary):
- If you have multiple garage door openers or want to program additional buttons on your Clicker remote, repeat the programming process for each button you wish to program. Remember to press the “Learn” or “Smart” button on the opener before programming each button on the remote.
7. Test Your Clicker Remote:
- After programming your Clicker remote, test it to ensure that it operates the garage door opener correctly. Stand within range of the opener and press the button on the remote to open or close the garage door. If the door operates as expected, the remote has been successfully programmed.
8. Mount Your Clicker Remote (Optional):
- Once you have programmed your Clicker remote, you can mount it to your vehicle’s visor or another convenient location using the included clip or adhesive strip. Make sure the remote is securely mounted and easily accessible for operation.
9. Troubleshooting:
- If you encounter any issues during the programming process, refer to the Clicker remote’s user manual for troubleshooting tips and instructions. You can also contact Clicker customer support for assistance.
10. Enjoy Your Clicker Remote: – Once your Clicker remote is programmed and working correctly, you can enjoy the convenience of opening and closing your garage door with the touch of a button. Remember to keep your remote in a safe place and avoid sharing your remote’s programming code with unauthorized individuals.
Conclusion:
Garage Door Repair Richmond TX With its compatibility with most garage door openers and user-friendly design, the Clicker remote is an excellent choice for homeowners looking to simplify their garage door operation.
First Call Garage Doors
20527 Farm to Market 1093 Unit B205, Richmond, TX 77407, United States
1-713-248-2684
